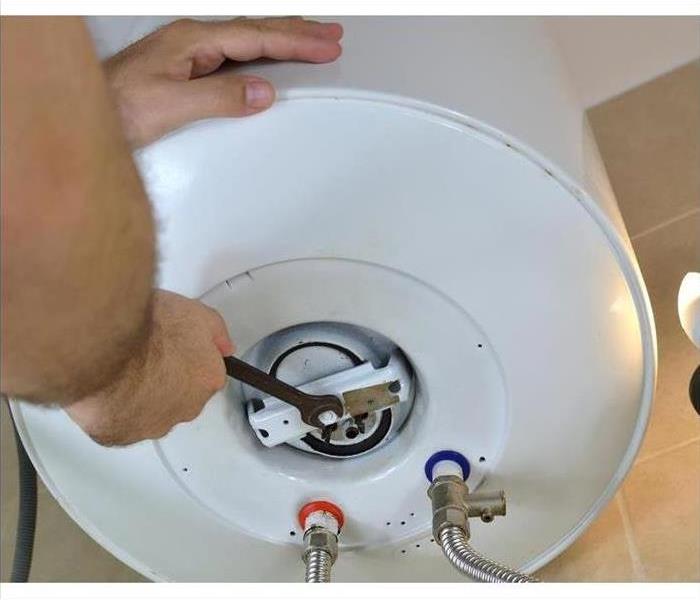
How to Flush Your Water Heater
2/2/2021 (Permalink)
How to Flush Your Water Heater
Much like any other appliance in your home, your water heater requires routine maintenance in order to continue functioning properly. Performing regular maintenance, such as a simple flush, can help keep your appliance running smoothly for years to come. The good news is that this process is quite simple to execute, even if you lack prior plumbing experience.
1. Turn Off the Machine.
This process varies depending on which type of model your home is equipped with. For gas models, simply cut the gas and extinguish the pilot light. Electric models can be switched off via your home's circuit box.
2. Empty and Flush the Tank.
Open your device's drain valve and allow the water to flow freely for several minutes until the tank is completely drained. You can switch on the faucet in your kitchen sink to help the water drain more smoothly and efficiently. Wait a few minutes before turning off the supply valve. Switch the supply valve back on once the water flow ceases entirely. Flush the water heater quickly before cutting the supply once again.
3. Refill the Water Tank.
Once you feel satisfied that all of the water and debris left in the tank has been drained, you may close the valve. Switch the water supply back on and closely watch the flowing faucet in your kitchen sink. The stream will start flowing smoothly again once the water tank is completely full.
4. Reactivate the Power.
After the tank has been refilled, you can switch the power by on. Do so by repeating step one in reverse order. Double-check to make sure the water tank has been filled completely before restoring the power. Doing so with a half-full tank can damage your appliance. Your water heater flush is now complete.
Performing a successful flush on your water heater is a simple way to help maintain a crucial appliance in your home. Make sure to contact water remediation experts for assistance if you encounter any problems during your flush.


 24/7 Emergency Service
